Quick Answer
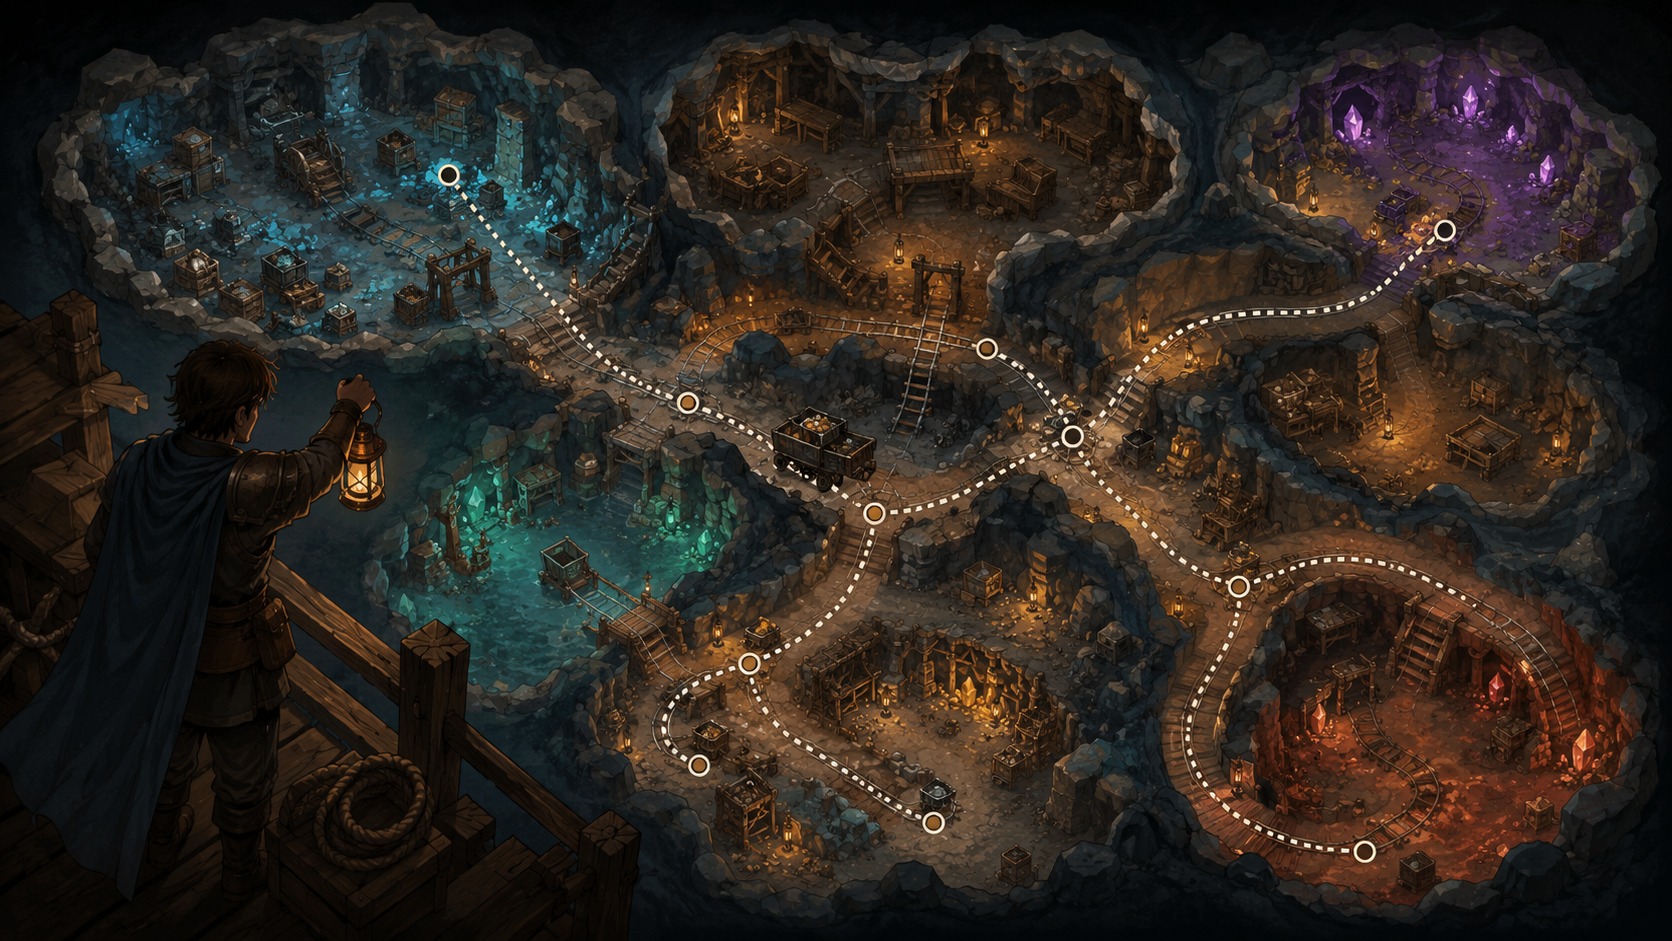
The Brighter Shores Mines map is best understood as a connected work zone, not just a maze of tunnels. Your main goals are to learn the route between mining areas, combat rooms, crafting rooms, storage points, and teleport points. The Mine of Mantuban has important areas for Mining, Minefighter combat, Blacksmithing, Stonemasonry, Bonewright work, and Storage Rifts. Some routes may feel awkward because the underground river and locked progress areas can force you to loop around instead of walking straight to your target.
For wider world navigation, use our Brighter Shores map guide.
How the Mines Map Works
The Mines are not laid out like a simple town map. Many rooms connect through narrow tunnels, bridges, caves, and profession areas. This makes the zone feel confusing at first, especially when a location looks close on the map but requires a longer walking route.
The main thing to remember is that the Mines are built around activity clusters:
- Mining and stone areas
- Minefighter combat rooms
- Goblin and forge areas
- Bonewright and Stonemason crafting areas
- River and bridge routes
- Storage and teleport points
Do not try to memorize every room immediately. Instead, learn the paths you use most often. For beginners, that usually means the route from the entrance or portal stone to early mining spots, then to storage, then back again.
The Mines also include progression-gated areas. Some deeper sections become useful after quest progress, including the route toward the second portal stone in the northeast side of the Mine of Mantuban.
Important Mines Locations
The most important Mines locations are the places you return to often. These are usually more useful than random side rooms.
Mine Entrance and Early Routes
The entrance area is your starting point for learning the Mines. From here, focus on finding your first safe route to mining nodes, early combat areas, and nearby transport.
Beginners often make the mistake of walking too deep before they understand how to get back. When you enter a new section, check how it connects to nearby rooms before starting a long gathering or combat session.
Portal Stones
The Mine of Mantuban has portal access that helps reduce travel time. One portal stone is available toward the southwest side, while another is deeper in the northeast area and tied to later progress.
Use portals as your “reset points.” When you get lost, it is often faster to return to a known portal route than to keep wandering through side tunnels.
For more help with fast travel, see the teleports and obelisks guide.
Goblin Workshop and Forge Areas
The Goblin Workshop and nearby forge areas are important for players working on ore processing and Blacksmithing. Mining feeds directly into crafting, so learning the route between ore nodes, ore storage, and the forge saves a lot of time.
Mining is mainly tied to the Mine of Mantuban, and ores can be used for Blacksmith progress.
Stonemasonry and Bonewright Areas
The southern and western parts of the Mines include key crafting areas such as Stonemasonry, Sculpting, Bone Vats, and Boneworks. These areas matter when you start working with stone, bones, timber, and related weapon crafting.
For item and tool help, use the tool locations guide.
Mines Routes for Beginners
A good beginner route should be simple. Do not chase every room at once.
Start with this approach:
- Enter the Mines.
- Find your nearest familiar mining area.
- Mine until your inventory or task goal is reached.
- Return to the correct storage point.
- Repeat until the route feels automatic.
Once you are comfortable, add combat rooms and crafting rooms to the route.
Basic Mining Route
Your early route should connect three things: ore or stone nodes, storage, and a safe return path. Early resources include areas such as Abandoned Mining Cavern, Rat Infested Junction, Andesite Site, and Stalagmite Nook according to available mining guides, but exact best spots can depend on your current level and unlocks.
Do not walk across the whole Mines for a slightly better node if it makes banking slower. Shorter loops are often easier and more consistent.
Basic Combat Route
For Minefighter training, pick an area close to a known path. Avoid fighting too far from your route until you know how enemy rooms connect.
Combat areas can interrupt gathering routes, especially if you are carrying resources or trying to reach storage. Keep your first combat route separate from your mining route until you understand the map better.
For combat basics, see the Brighter Shores combat guide.
Mining, Combat, and Resource Areas
The Mines mix gathering and combat more than some early zones. You may pass enemies while moving between mining rooms, crafting rooms, and storage areas.
Mining Areas
Mining areas are the core of the Mines map. Your best area depends on your Mining level and what resource you need. Some mining spots are better for early levels, while others become useful later.
The main beginner mistake is mining far away from the correct bank or storage point. Before starting a long session, check where your resource should be stored.
Combat Areas
Minefighter areas are useful for progression, but they can make navigation more stressful. If you are only trying to move through the Mines, do not stop for unnecessary fights.
When training combat, bring only what you need. A cleaner inventory makes it easier to manage drops, resources, and route resets.
Resource Support Areas
Some Mines activities connect to support resources and crafting systems. For example, certain crafting work can involve gas-related steps and areas such as Leech Pools, Gassy Cave, and Gassy Grotto. Gas Leeches are used for filling gas systems, and they are handled as needed rather than treated like normal banked resources.
This is why the Mines map is easier once you think in loops: gather, process, store, return.
Storage and Travel Tips
Storage is one of the biggest reasons players get lost in the Mines. There are different storage points for different resource types, so do not assume one bank handles everything.
Mining-related storage includes ore and stone storage locations, with guides noting the Ore Bank in the Goblin Workshop and the Stone Bank in the Stonemasonry Room.
Storage Rifts can also help once unlocked. The Mine of Mantuban has Storage Rift locations, but access depends on completing the required unlock first.
Use these habits:
- Bank before exploring a new branch.
- Learn one storage route at a time.
- Keep teleport points in mind when planning long trips.
- Do not carry mixed resources unless you know where each one goes.
- Use known rooms as landmarks instead of trying to remember every tunnel name.
For more help, read the bank and storage guide.
Common Mines Navigation Mistakes
The most common mistake is treating the Mines like a flat map. Some rooms look close but require a loop because of bridges, water, locked routes, or tunnel direction.
Another mistake is ignoring storage. If you mine first and think about storage later, you may waste time walking through several rooms with a full inventory.
Players also often unlock a new area and immediately abandon their old route. This can slow you down. A familiar route is still useful if it gives reliable mining, combat, or banking.
Finally, do not use the Mines map only for movement. Use it to plan tasks. Before entering, decide whether you are mining, fighting, crafting, or unlocking a route. The Mines become much easier when every trip has one clear purpose.
FAQ
Is there a complete Brighter Shores Mines map?
There are community-made maps and location guides for the Mine of Mantuban, but layouts and best routes may change with updates. Use maps for orientation, then build your own practical routes around your level and unlocks.
Where should beginners go first in the Mines?
Beginners should focus on nearby mining areas, simple storage routes, and safe paths back to the entrance or portal stone. Do not rush deep sections until you know how to return.
Why is the Mines map confusing?
The Mines have tunnels, bridges, profession rooms, combat areas, and an underground river that can force longer routes. A room may look nearby but still require a loop to reach.
Where do I store ores and stones?
Available guides point players toward ore storage in the Goblin Workshop and stone storage in the Stonemasonry Room. Always check the correct storage type before starting a long gathering run.
Are Storage Rifts available in the Mines?
Yes, Storage Rifts are available in the Mine of Mantuban after the required unlock. They are useful for cutting down travel time once you start using deeper routes.